Short update on the 'cursed' front door. A few weeks ago I posted pics of the radius transom window that I waited 5 months to get, which didn't fit. The two side lites also appeared around that time, nicely done up as they were a custom order, due to the size and height of the opening. These are raw, unpainted doors, and the plan was to set up a spray area in the garden level to apply that gorgeous Jaguar green high gloss finish. And the radius transom window? The company is coming again tomorrow to check the template before they custom make the window again. Don't get me started on this.
For the rest of the door, lets make a very long story short: The painter somehow forgot to use the spendy primer, and just shot the door with the spendy green paint. Along with spraying the wrong side of the door. Sigh. The best laid plans of mice and men often DO go awry.
So the door was removed from the onsite spray booth and taken to Superior Custom Furniture where the paint is being stripped off the interior side and properly primed and painted on the exterior side. Nothing is every easy. This door is cursed, I tell you, cursed !!
Trim carpenters will return late this week to work on the front door jams in anticipation of the return of the painted door. An idea of how this will look (the side pieces forming the cavity that the door is set into, see below). Just the actual door itself gets the Jaguar green color "Farrow and Ball - Studio Green" and the rest of it, including the side panels and trim surround, is painted black.


The project list is waning but still a large part of nights and weekends. Almost all the parts are in place for the powder room sink (still requires a piece of cut stone for the top and shelf before the vessel sink can go on top), a painting project in the Media Room to save money, and the creation of a hanging sculpture-light for the stairwell, to hang from the center point of the skylight. While the design of this hanging light is still evolving on paper, I can give you a hint: Its loosely based on the idea shown in the photo below, using the same parts and process, and of course it will hang down, not up as shown here. This is a DIY project, making it both cool and affordable for a fixture that should turn out being something like 15 feet in length and 4 feet wide.. A better idea of what this is all about can be found here: Lindsey Adelman Sconce #2. I think this will be a fun project.


For the rest of the door, lets make a very long story short: The painter somehow forgot to use the spendy primer, and just shot the door with the spendy green paint. Along with spraying the wrong side of the door. Sigh. The best laid plans of mice and men often DO go awry.
So the door was removed from the onsite spray booth and taken to Superior Custom Furniture where the paint is being stripped off the interior side and properly primed and painted on the exterior side. Nothing is every easy. This door is cursed, I tell you, cursed !!
Trim carpenters will return late this week to work on the front door jams in anticipation of the return of the painted door. An idea of how this will look (the side pieces forming the cavity that the door is set into, see below). Just the actual door itself gets the Jaguar green color "Farrow and Ball - Studio Green" and the rest of it, including the side panels and trim surround, is painted black.

Just a random door from the neighborhood, showing the detail of how this door should be framed and trimmed. Obviously there is a radius window at the top of the Castillo door, and the wood jam would wrap around that radius. But the general idea is below.

The project list is waning but still a large part of nights and weekends. Almost all the parts are in place for the powder room sink (still requires a piece of cut stone for the top and shelf before the vessel sink can go on top), a painting project in the Media Room to save money, and the creation of a hanging sculpture-light for the stairwell, to hang from the center point of the skylight. While the design of this hanging light is still evolving on paper, I can give you a hint: Its loosely based on the idea shown in the photo below, using the same parts and process, and of course it will hang down, not up as shown here. This is a DIY project, making it both cool and affordable for a fixture that should turn out being something like 15 feet in length and 4 feet wide.. A better idea of what this is all about can be found here: Lindsey Adelman Sconce #2. I think this will be a fun project.
I think long, light, skinny, is the plan, even longer and more drawn out than this first-gen drawing. The dots at the endpoints will be Edison style, very low lumen, 2200K small LED clear globe bulbs. Just dots of warm, low light. In the next drawing revision, the connectors will get longer and the spacing greater, with the goal of just touching the top-ish portion of the column on the first floor.
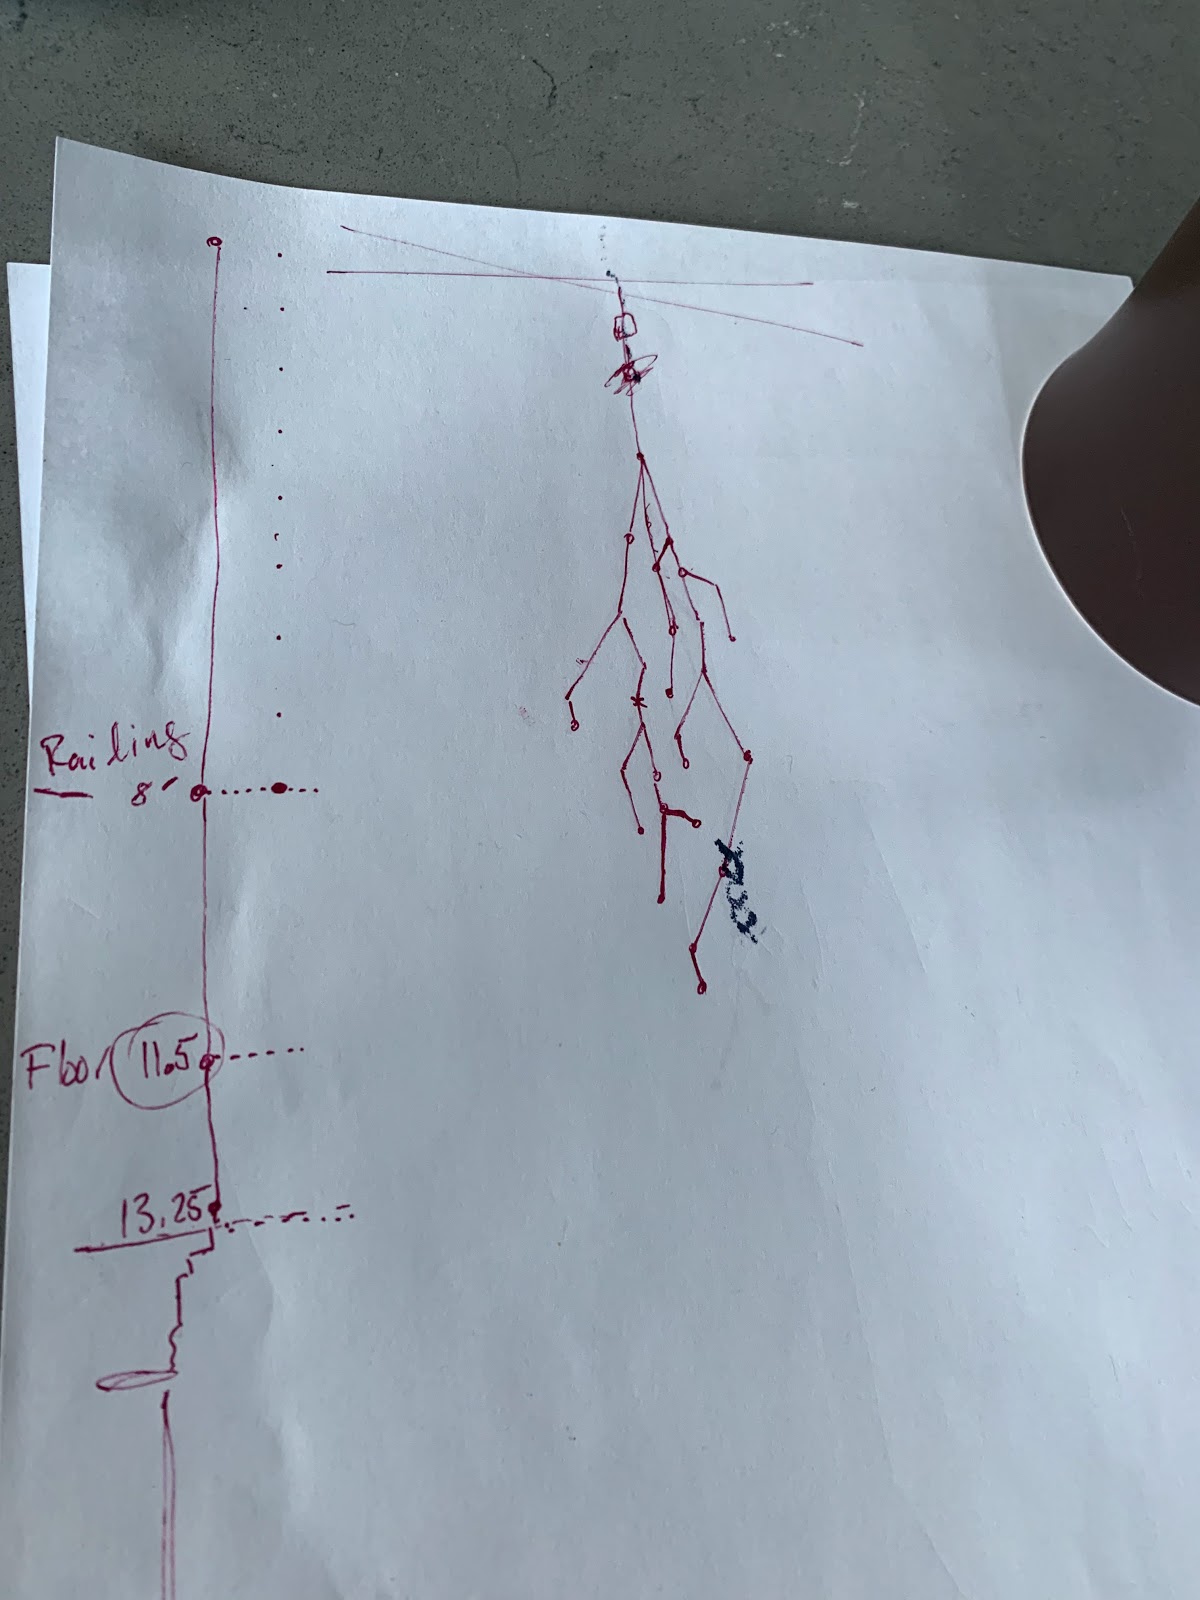
This is intended to hang from the "X" in the center of the skylight, into this opening:

Experimenting with some of these parts I ordered from the above link:


Comments
Post a Comment